When my PCOS symptoms peaked a few years ago, my eyebrows were one of the first casualties. I spent months walking around with heavy, drawn-on arches before I realized my approach was completely backward. If you are trying to figure out how to fill in thin eyebrows—or draw them over completely bare skin—you do not need a heavier hand. You just need a softer technique.
Most of us approach sparse brows like a coloring book. We outline the shape we want and color it in. On a face with plenty of natural hair, that works fine. On bare skin, an outline instantly looks artificial.
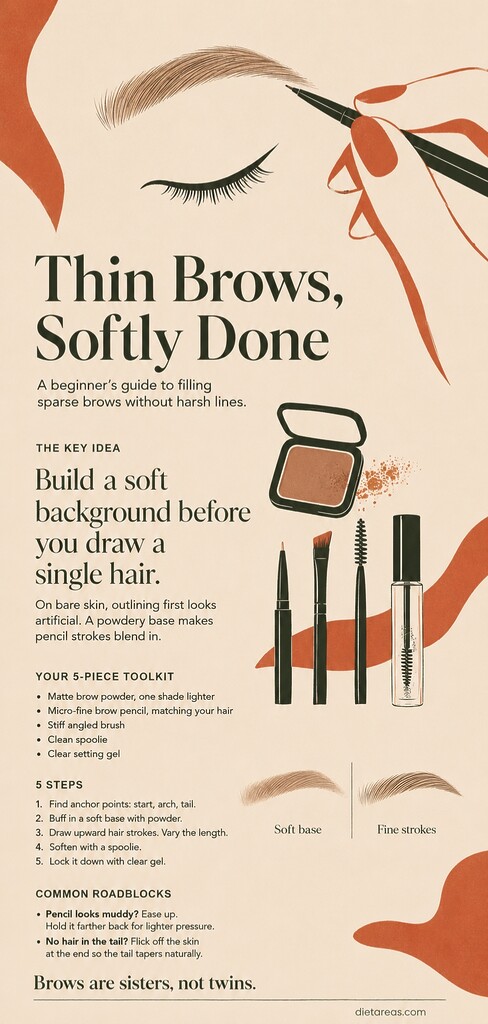
You have to build dimension first. Create a soft background before you draw a single hair. Think of it the way a painter primes a canvas. A flat wash of muted color underneath makes the sharp, fine details layered on top look three-dimensional. When you lay down a powdery base first, the pencil strokes you add later blend into your skin instead of sitting harshly on top of it.
Gathering Your Complete Toolkit
You cannot build a realistic arch with a thick, dull crayon. To do this start-to-finish without stopping or realizing you are missing a piece, you need exactly five things on your counter:
A matte brow powder. Choose one shade lighter than your natural hair, which acts as a soft backdrop without turning pitch black.
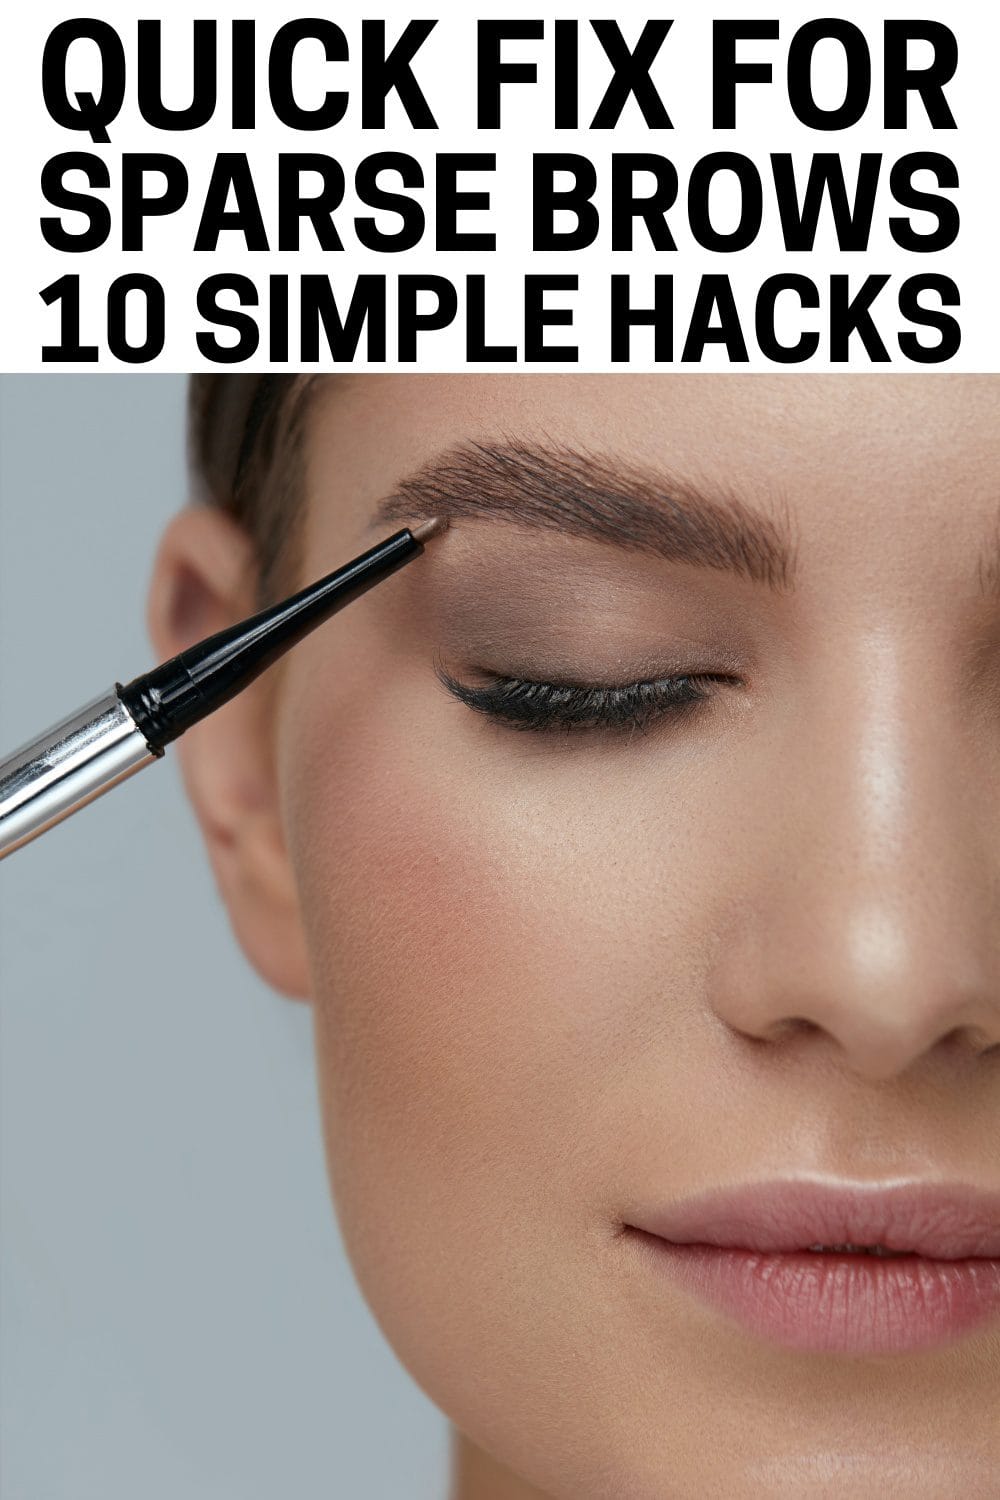
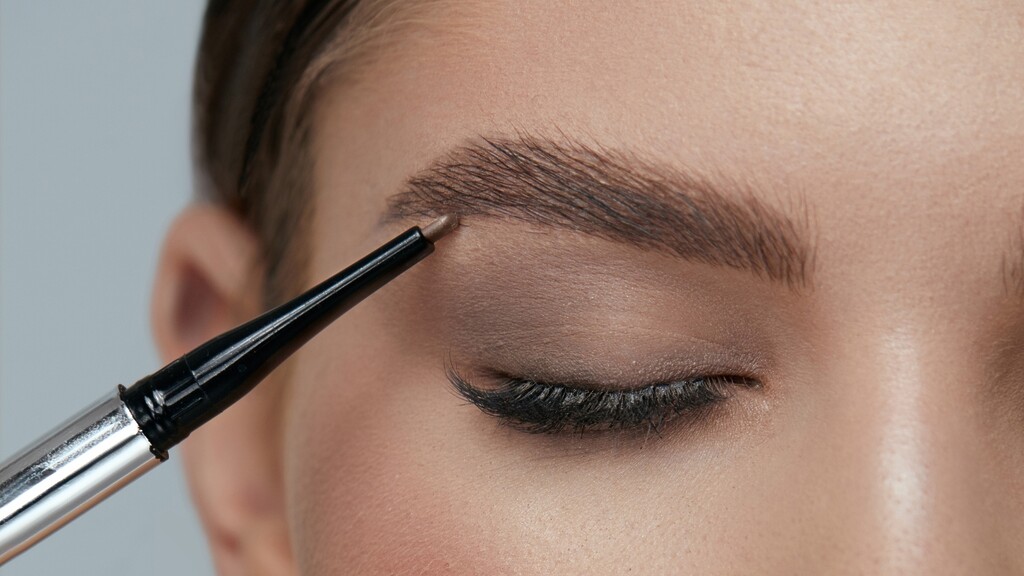
A micro-fine brow pencil in a shade that matches your hair exactly.
A stiff, angled makeup brush.
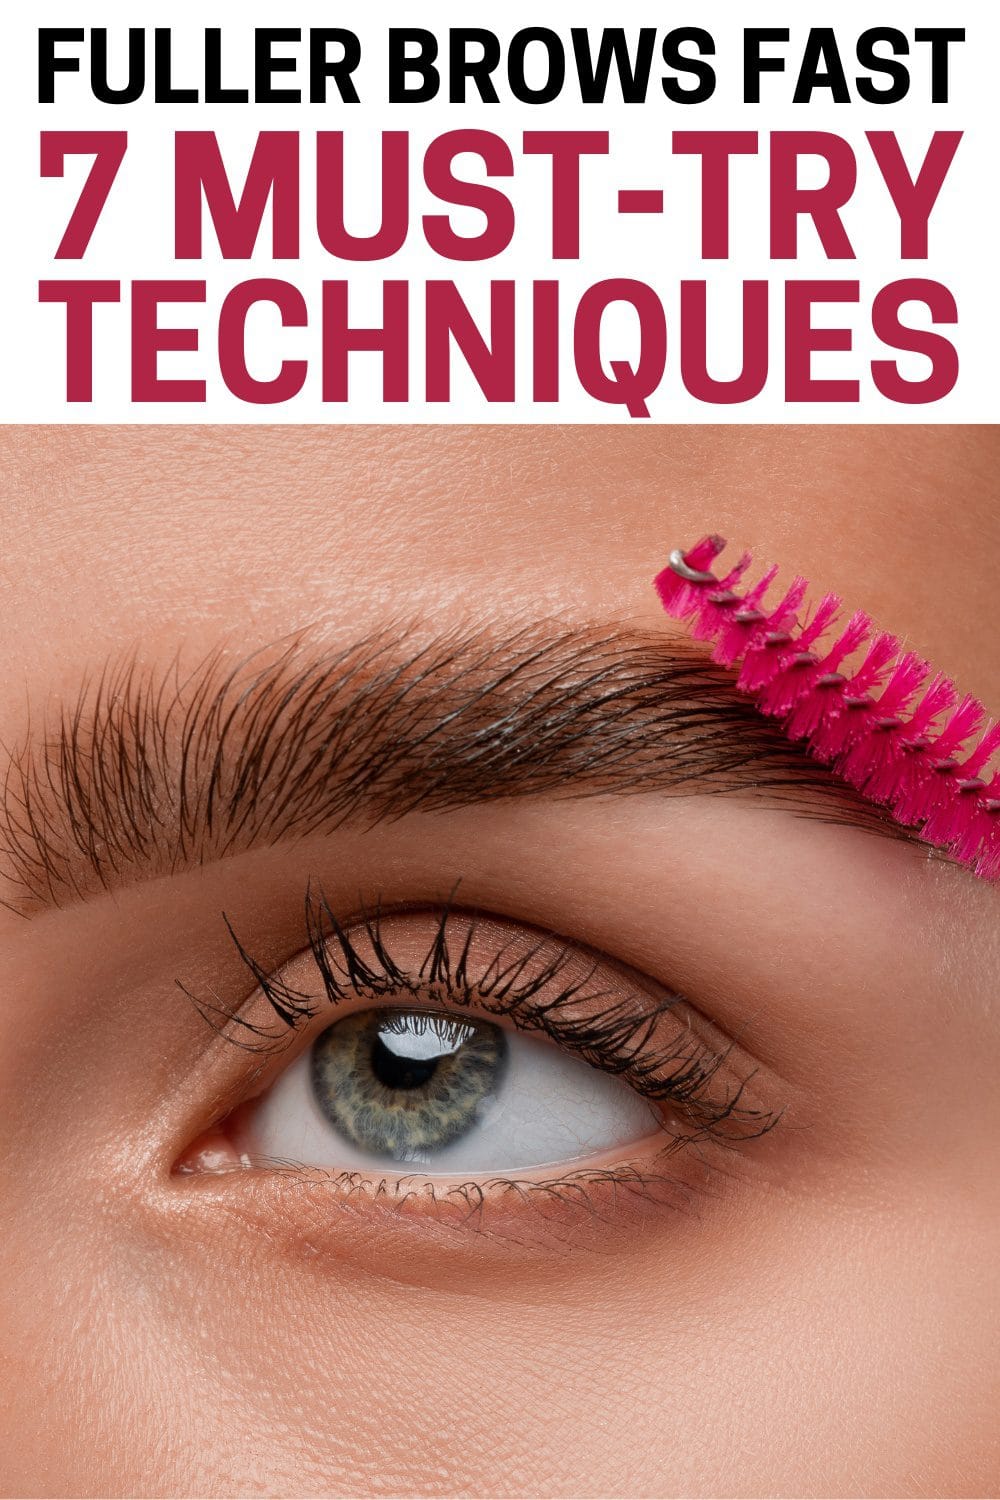
A clean spoolie brush.
A clear setting gel. The clear gel is non-negotiable because it coats whatever fine baby hairs you do have, adding a lifelike sheen back to the brow.
How to Fill In Sparse Eyebrows on Bare Skin
Set aside about five minutes for this. Grab a hand mirror, stand in natural daylight if you can, and make sure your brow area is completely clean and dry.
The Step-by-Step Technique
Find your anchor points. Hold your pencil vertically against the dimple of your nose to find where your brow should start. Pivot the pencil across your pupil to find your arch. Pivot it to the outer corner of your eye to find the tail. Place a tiny, invisible dot at each spot.
Buff in your base layer. Take your angled brush and lightly sweep your lighter brow powder through the shape you want to create. Keep the edges blurred. You are just staining the skin slightly so it does not look stark bare underneath your pencil work.
Draw the hairs. Take your micro-pencil, plant the tip firmly against the skin, and flick upward. Vary the length of your strokes so they mimic natural hair growth. If you are working over a totally bald patch, overlap the strokes slightly, letting them cross each other naturally rather than standing in perfectly parallel rows.
Soften the contrast. Take your clean spoolie brush and lightly comb through the area. This distributes the powder and blurs any pencil lines that look too aggressive, marrying the makeup to the skin.
Lock it down. Swipe your clear gel upward over the whole shape. This gives the drawn hairs a slight reflective finish that looks like real keratin.
The biggest mistake we make with bare patches is trying to replace the hair immediately, instead of building the soft background underneath it first.
Common Beginner Roadblocks
Even with great techniques, the first few attempts can feel a little clumsy. Your hand will get steadier with practice.
What if the pencil looks muddy and thick?
You are likely pressing too hard and forcing the wax in the pencil to clump. A micro-pencil is designed to deposit pigment with barely a whisper of pressure. Hold the pencil further back near the end of the barrel; this naturally lightens your grip and prevents you from driving the tip heavily into your skin.
What if I literally have no hair in the tail?
Drawing a tail entirely from scratch requires a tiny adjustment in how you handle the pencil. Hair naturally tapers and gets finer at the ends. When drawing your strokes in the tail section, lift the pencil tip off the skin right before the stroke is finished. That flicking motion creates a realistic root-to-tip taper. If you just draw straight, heavy lines to the end, the tail will look like a solid block of color.
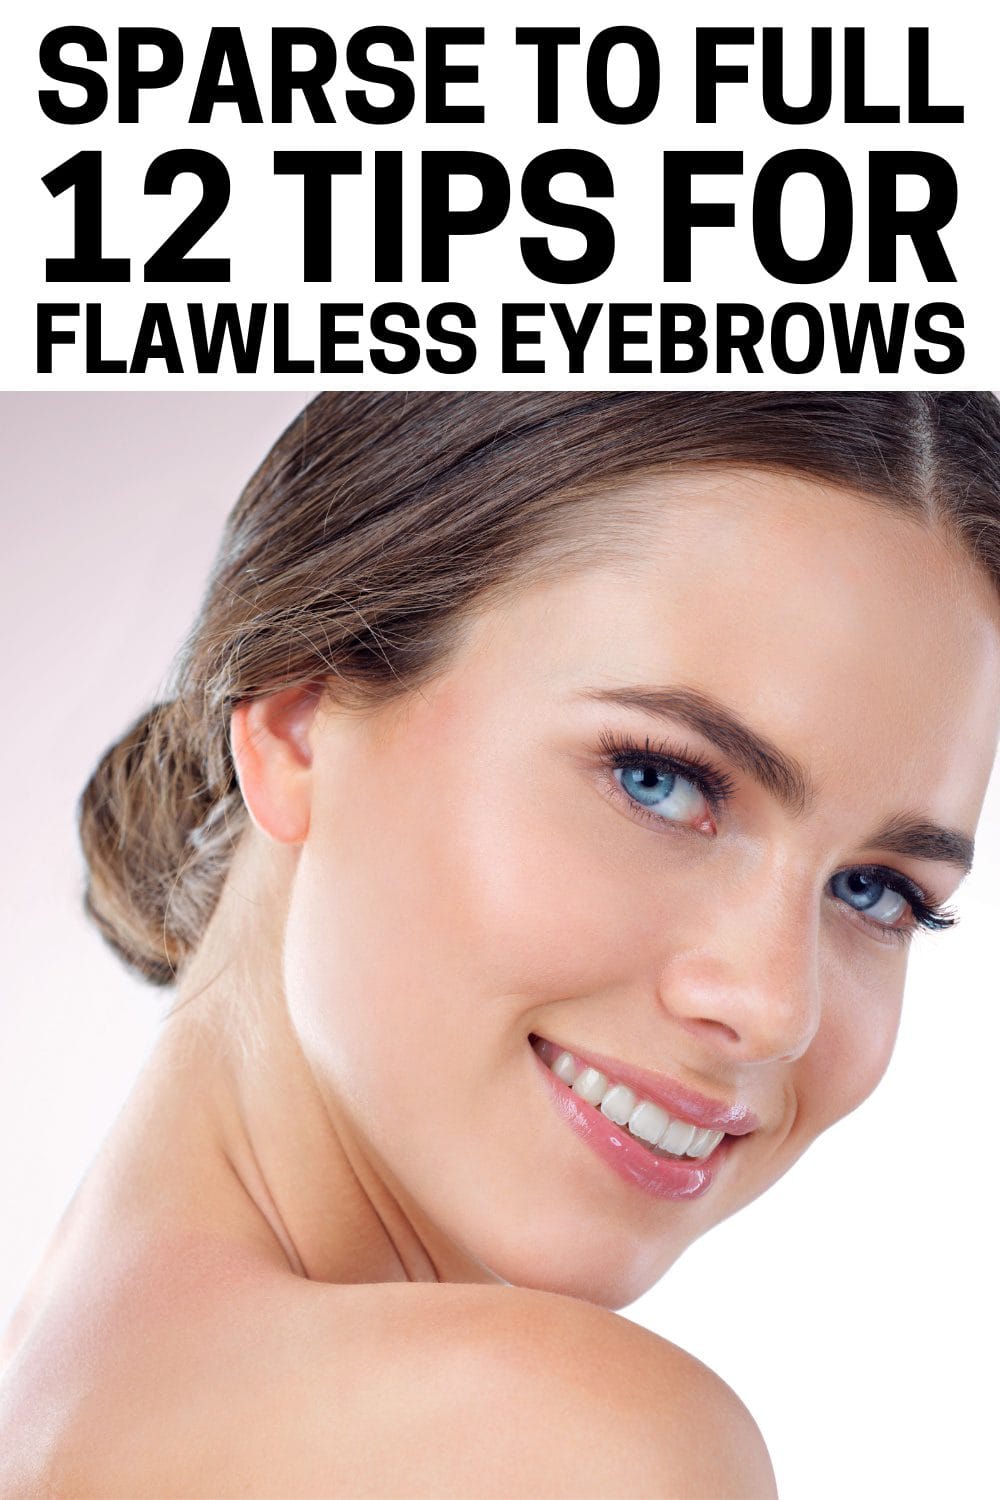
Your face changes when you stop fighting your natural features and start working with them. A softly built arch brings light back to your eyes and balance to your face. Take it slow, keep a light touch, and remember that eyebrows are sisters, not twins.
Hi, I’m Emily! As a wellness researcher and recipe developer, my mission is simple: to bridge the gap between nutritional science and the joy of eating. Here, you’ll find evidence-based recipes that feed your body without boring your tastebuds. Read her full story.