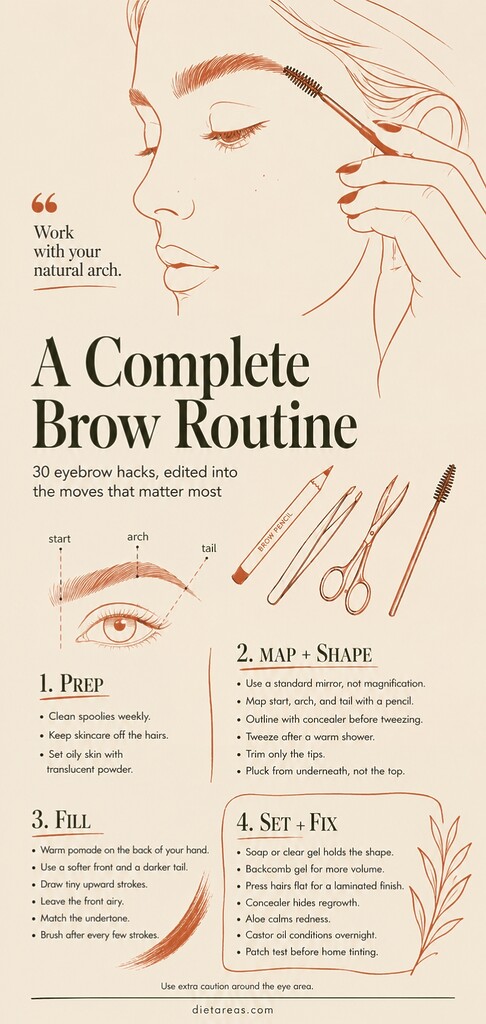
Your eyebrows dictate the balance of your entire face. A slight shift in the arch, a change in texture, or a stronger hold can completely alter your expression. Whether you want a fluffy brushed up finish or a neatly defined tail, you do not need a professional salon appointment to get there. These 30 expert eyebrow hacks will guide you through the entire process, from prepping the skin to locking in the final shape, helping you build perfect eyebrows at home.
Prepping Your Canvas
Great makeup sits poorly on unprepared skin. Before you pick up a pencil or a pair of tweezers, you need to set the stage for success. Treat this phase like prepping a baking pan: do it right, and nothing sticks or slides out of place.
1. Wash Your Spoolie Brush
Old product buildup turns a great brush into a stiff clump. **Wash your spoolies weekly with basic dish soap** to keep the bristles flexible and capable of blending your makeup smoothly.
2. Keep Skincare Away from the Hairs
Heavy moisturizers and thick sunscreens make your brow hairs slippery. Wipe the brow area completely clean with a cotton swab before applying any color so your pencil actually grips the skin.
3. Apply a Translucent Powder Base
If you have oily skin, your drawn tails will melt by noon. **Dust a light layer of translucent powder over your brows before filling them in** to absorb excess oils and give the pigment something to hold onto.
Shaping and Mapping
Structure is everything. You want to follow your natural bone structure to find the arch that frames your eyes best, and you must map that shape before you remove a single hair.
4. Ditch the Magnifying Mirror
This is the most common home grooming mistake. **Toss the magnifying mirror in a drawer and step back three feet from a standard mirror.** If you zoom in too close, you lose perspective on your face shape and end up plucking away essential hairs.
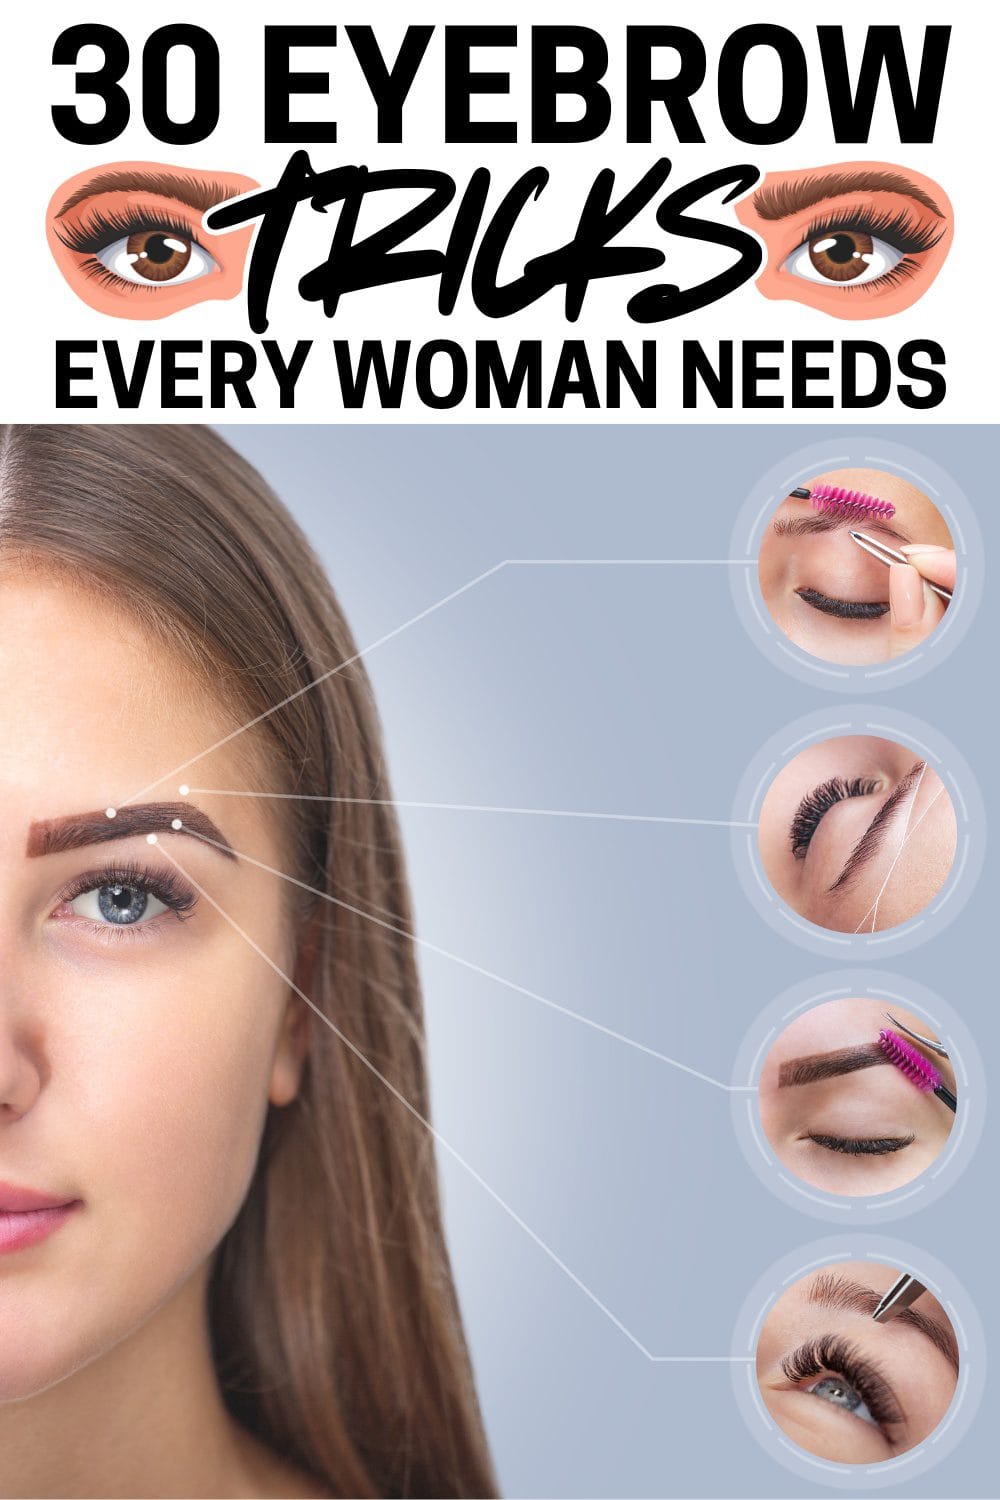
5. The Classic Pencil Map
Hold a pencil straight up from the dimple of your nose to find where your brow should start. Pivot it across your pupil to locate the arch, and angle it to the outer corner of your eye to find the tail.
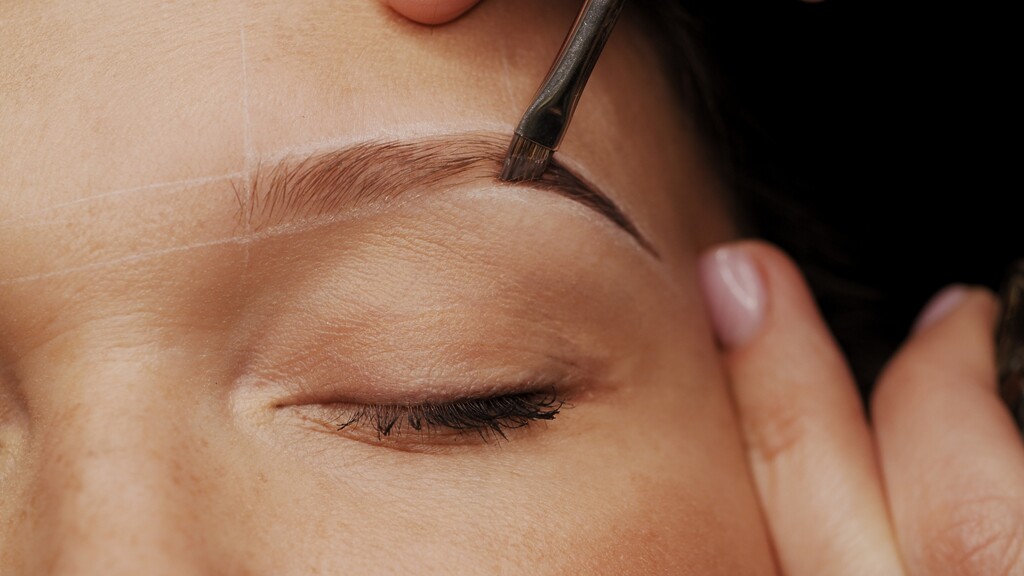
6. Map with Concealer First
Instead of drawing harsh lines with a dark pencil, **outline your desired shape using a full coverage concealer.** This creates a high contrast boundary that shows you exactly what to pluck and what to leave alone.
7. Tweeze Right After a Warm Shower
The steam from your shower softens the hair follicles and opens your pores. Plucking hairs immediately after stepping out of the steam makes the process significantly less painful.
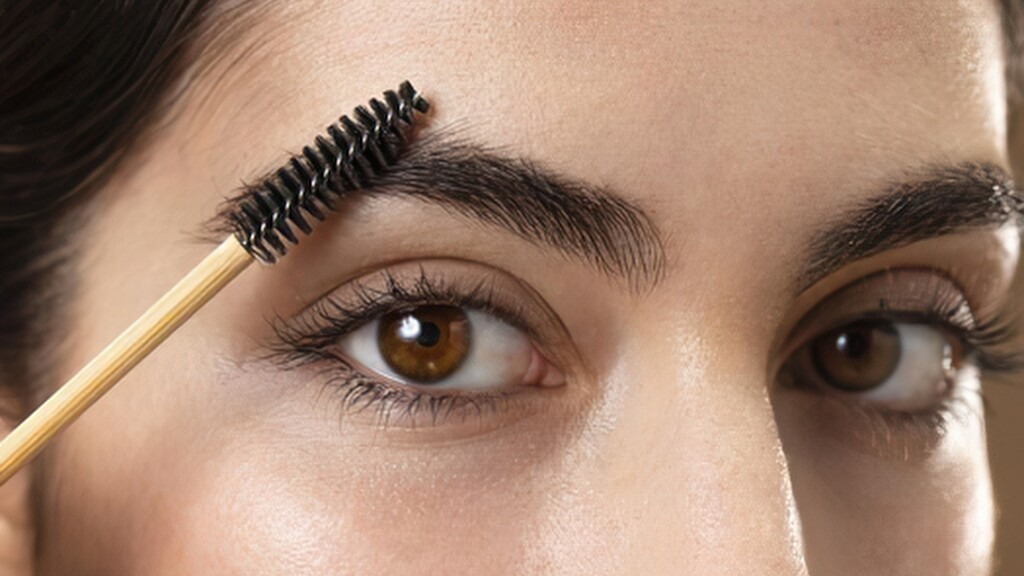
8. Trim Upward with Caution
Brush all your hairs straight up with a spoolie. Using tiny grooming scissors, snip only the very tips of the hairs that extend wildly above the top line of your brow.
9. Never Pluck from the Top
The top line of your eyebrow defines your natural arch. **Confine your tweezing entirely to the stray hairs underneath the brow** to preserve the core shape you were born with.
10. Stop Aiming for Twins
Your face is naturally asymmetrical, and your eyebrows are sisters, not twins. Chasing perfect symmetry usually results in plucking away too much hair until both sides are completely bare.
11. Use the Finger Pull Technique
Pull the skin taut with your free hand while tweezing. This reduces the tugging sensation and helps the hair slide out smoothly by the root instead of snapping in half.
12. Follow Your Natural Growth Direction
Always pull the tweezers in the exact direction the hair is growing. Plucking against the grain causes ingrown hairs and damages the follicle over time.
Filling Like a Pro
This is where the magic happens. Building color requires a light touch and the right textures to keep the results looking like real hair.
13. Warm Up Your Pomade
Treat your brow pomade like cold butter. **Swirl a tiny amount onto the back of your hand to warm it up** before it touches your face, ensuring it glides on like silk instead of skipping.
14. Use Two Different Shades
Real hair has natural highlights and shadows. Use a lighter pencil for the front of the brow and a richer, darker espresso shade for the arch and tail to create realistic dimension.
15. Draw Micro Strokes
Do not color in your eyebrows like a drawing book. **Flick your wrist upward to create tiny, delicate strokes** only in the spaces where the hair is visibly sparse.
16. The Tail Should Be the Darkest Part
A heavy, dark front makes you look angry. Concentrate your darkest pigment at the outer tail and let the color gradually fade as you move toward the bridge of your nose.
17. Leave the Sprout Alone
The sprout is the cluster of hairs at the very front of your brow. Leave this area almost completely free of product to maintain a soft, modern aesthetic.
18. Match Your Undertones
Color is only half the battle. If your hair runs ashy, a warm chocolate pencil will look orange on your skin, so you must select a taupe or cool toned brown. Conversely, if your hair has golden or red highlights, choose a warmer caramel pencil so the brows do not look artificially gray. Always check whether your natural hair reflects cool or warm tones in the sunlight before buying a product.
19. Brush After Every Stroke
The secret to seamless blending is constant brushing. **Run your spoolie through your brows after every two or three pencil strokes** to diffuse the pigment directly into the hair.
20. Dampen Your Brush for Powder
If you prefer the soft look of brow powder but need more staying power, lightly mist your angled brush with setting spray before dipping it into the pan.
21. Lean Your Elbow on a Table
Shaky hands ruin crisp lines. Rest your dominant elbow solidly on your vanity table to anchor your movements while you draw your arches.
22. The Cotton Swab Eraser
Keep a pointed cotton swab dipped in micellar water nearby. It acts as a precise eraser for snapping sharp edges back into place without ruining your foundation.
Setting and Holding
You spent the time building the perfect shape. Now you need to lock it down so it survives humidity, sweat, and long hours.
23. The Classic Soap Trick
To get that glossy, laminated look, rub a damp spoolie over a bar of clear glycerin soap. **Brush the soapy spoolie upward through your brows to freeze them in place all day.**
24. Backcomb with Tinted Gel
If you want serious volume, brush your tinted brow gel backward against the hair growth first to coat every side of the follicle, then smooth it back into its upright position.
25. The Lamination Press
After brushing your hairs upward with clear gel or soap, use the clean handle of your makeup brush to gently roll over the brows, pressing the hair shafts flat against the skin. This sticks them safely in that upright, fluffy position all day so they do not fall back down.
26. Hairspray in a Pinch
If you run out of brow gel entirely, spray a heavy coat of strong hold hairspray directly onto a clean spoolie and comb it through your arches.
Emergency Fixes and Growth
Sometimes things go wrong. These hacks help you recover from grooming disasters and encourage better health for your hair follicles.
27. Concealer Hides Regrowth
When you are growing out an over-plucked arch, the stubble phase is frustrating. **Dab a matte, full coverage concealer directly over the stubble to camouflage it** until the hair is long enough to blend in.
28. Aloe Vera for the Redness
Post tweezing redness can last for hours. Keep a tube of pure aloe vera gel in your refrigerator and tap a cold drop onto the skin immediately after plucking to soothe the irritation.
29. Castor Oil Conditioning
Just like the hair on your head, your brows need moisture. Massage a single drop of cold pressed castor oil into your brows before bed to condition the hairs and prevent breakage.
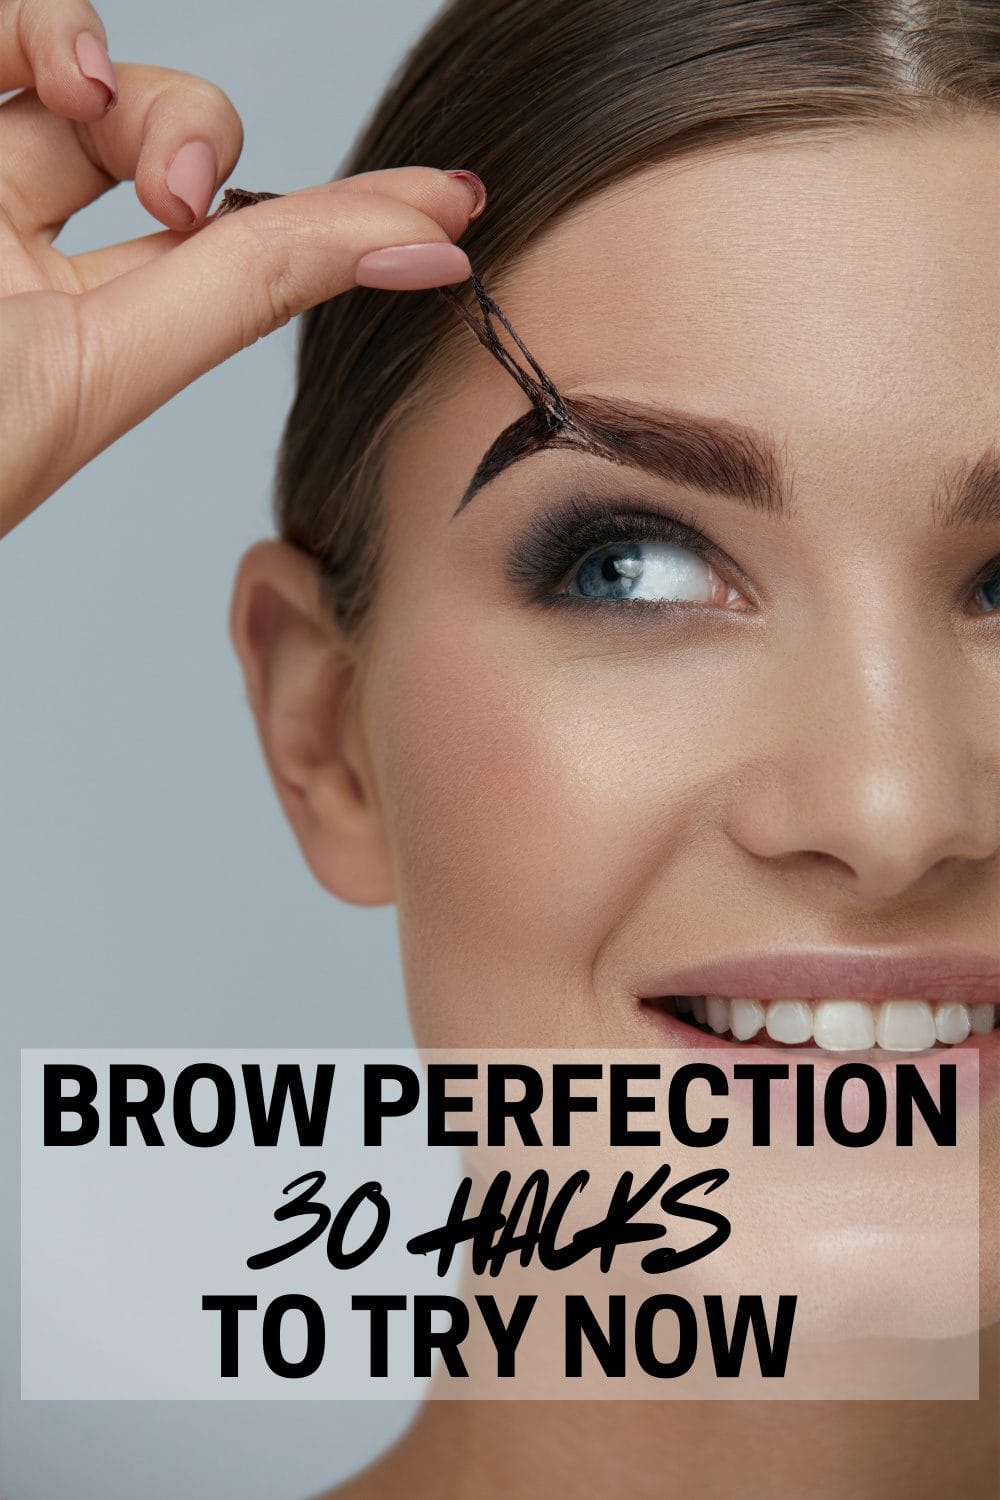
30. Safe Tinting at Home
For a cheap, long lasting solution to blonde or graying hairs, men’s beard dye works beautifully, but proceed with extreme caution around the eye area. Always complete a patch test first, outline your brows with a thick barrier of petroleum jelly to prevent skin staining, and follow the exact development time listed on the specific box you buy.
Your natural bone structure is a map, not a suggestion. Stop fighting the arch you were born with and start enhancing the texture you already have.
Frequently Asked Questions
What is the fastest way to fix an over-plucked eyebrow?
The immediate fix is an optical illusion. Use a fine tip pencil to draw individual fake hairs into the gaps, then dab a matte concealer over the stubborn stubble underneath your arch. For the actual regrowth process, commit to an eight week break from the tweezers and massage a drop of castor oil into the sparse spots nightly.
How long does an at-home brow tint usually last?
A standard dye job will hold strong for about three to four weeks. Oil based cleansers break down the tint much faster, so stick to water based makeup removers around your eye area if you want to stretch the color.
Take these hacks one step at a time, test the textures on the back of your hand, and watch how quickly your morning routine transforms into something you actually enjoy.
Hi, I’m Emily! As a wellness researcher and recipe developer, my mission is simple: to bridge the gap between nutritional science and the joy of eating. Here, you’ll find evidence-based recipes that feed your body without boring your tastebuds. Read her full story.
")
")
")


")

