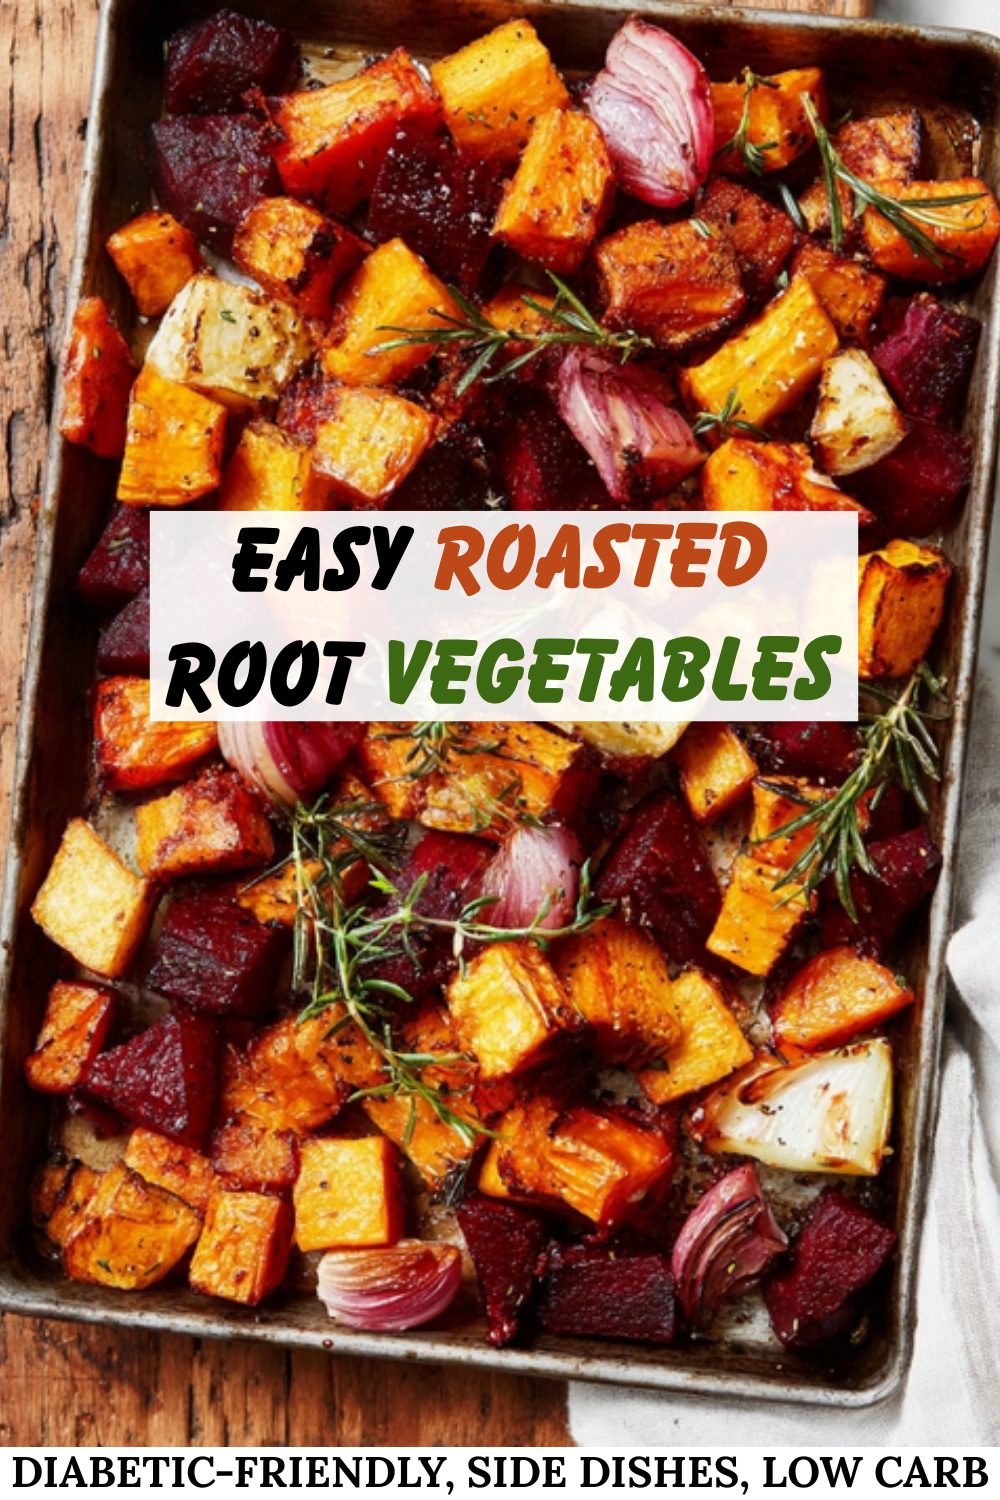
Getting dinner on the table during busy weeknights usually means sacrificing flavor for speed, but this low-carb roasted root vegetables recipe solves that struggle. Expect deeply caramelized edges and fork-tender centers that make eating your daily veggies genuinely effortless.
Intense Flavor Concentration: The high heat draws out the natural earthiness of the produce, creating a savory bite that feels incredibly rich.
Zero-Fuss Prep: Once the chopping is done, the oven handles all the heavy lifting for you.
Reliable Texture: Using a preheated pan ensures a beautiful sear on contact, completely preventing the dreaded mushy vegetable.
A Comforting, Nutritious Addition to Your Plate
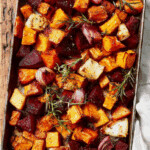
Finding a nutritious, low-carb option that actually tastes good can feel like a chore, especially when feeding a busy family. I lean heavily on this simple mix of carrots, parsnips, and turnips because it provides a hearty, comforting texture without a heavy carbohydrate load.
Figuring out how to roast root vegetables in the oven successfully comes down to just a few basic actions. First, you must preheat your heavy-duty roasting pan right along with the oven to 400°F.
Toss your uniform, one-inch vegetable cubes in a quick slurry of olive oil, thyme, paprika, salt, and pepper. Tip the vegetables onto the hot pan in a single layer—listen for that immediate sizzle—and roast until a fork slides through them easily.
Troubleshooting Your Roasting Pan
Give them breathing room: Don’t worry if you need to use two pans. Crowding the vegetables causes them to steam rather than develop those beautiful brown edges.
Smart carb swaps: If you want to lower the carbohydrate count even further, substitute half the carrots with celeriac or rutabaga.
Proper storage: Keep any leftovers in a sealed container in the fridge for up to four days. Reheat in a 375°F oven to quickly bring back the crispy texture.
Common Roasting Questions
Can I prep these ahead of time? Absolutely. You can wash, peel, and chop the root vegetables a day in advance. Just store them in an airtight container in the fridge until you are ready to toss and roast.
Why are my vegetables sticking? This usually happens if the pan wasn’t fully preheated or if there wasn’t quite enough oil. Ensure every piece is evenly coated before they hit the heat.
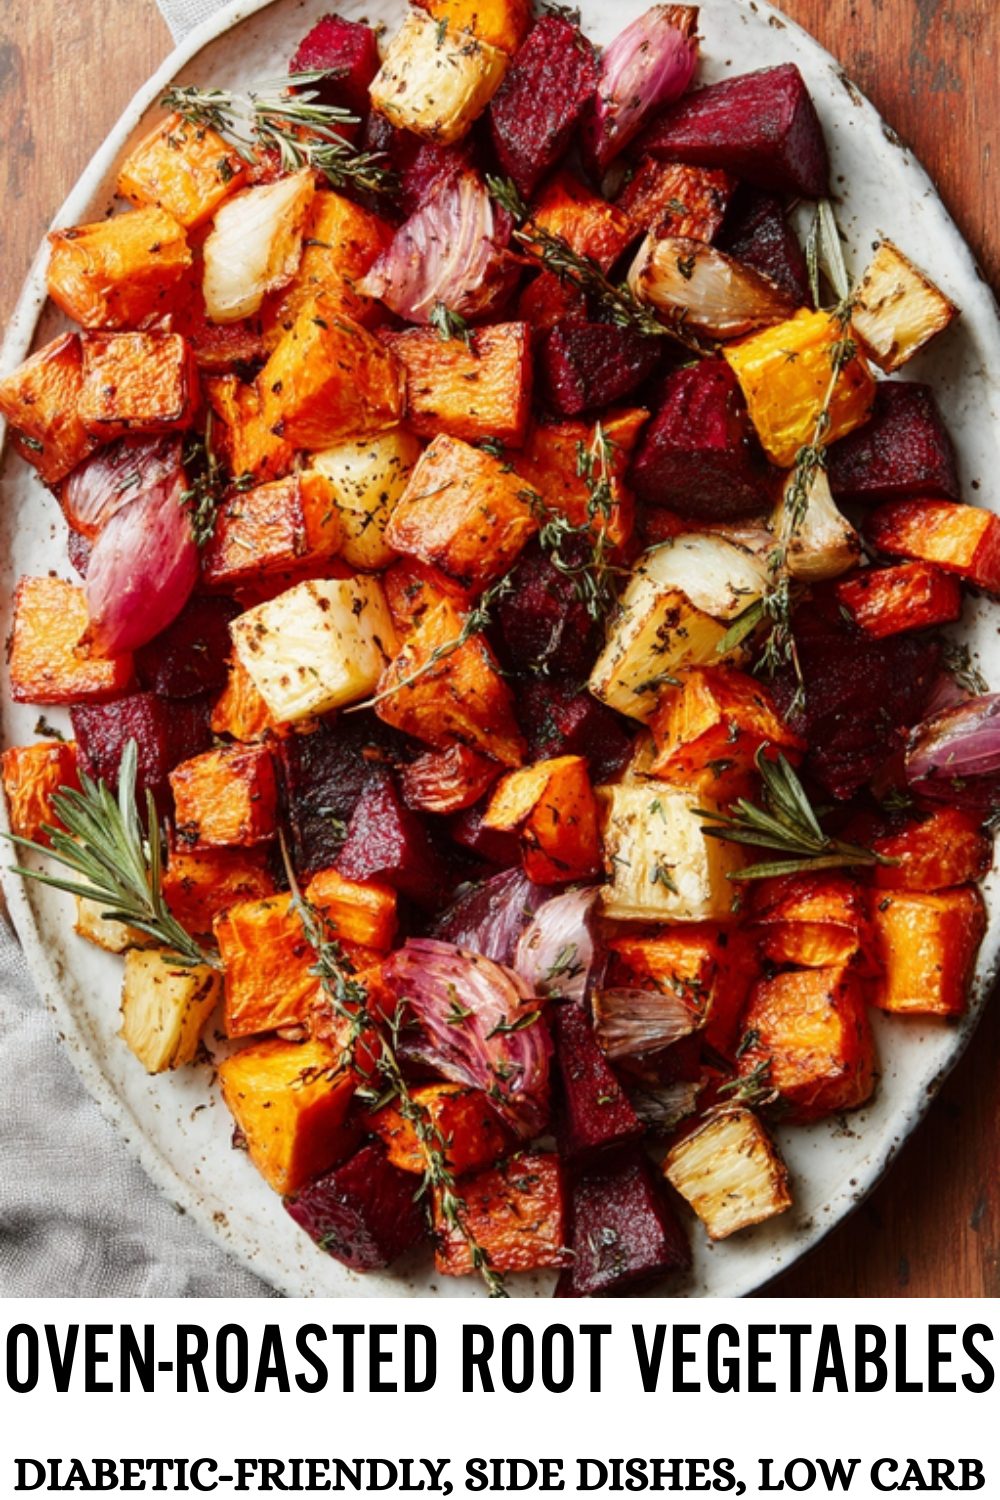
Unlock deep, earthy flavours with this simple, hands-off roasting method. The perfect versatile side dish that brings a touch of rustic elegance to any meal.
2 lbs about 900 g firm root vegetables (a mix of carrots, parsnips, and turnips works well)
1 large yellow onion
1 ½ tablespoons fresh thyme leaves (stripped from stems)
Instructions
Oven & Pan Pre-Heating : Position an oven rack in the lower third of your oven and preheat to 400°F (205°C). Place the empty heavy-duty roasting pan in the oven to get hot.
Prepare the Vegetables : Thoroughly wash and peel the root vegetables. Trim the ends and chop them into uniform 1-inch (2.5 cm) cubes. Cut the yellow onion into similar-sized wedges.
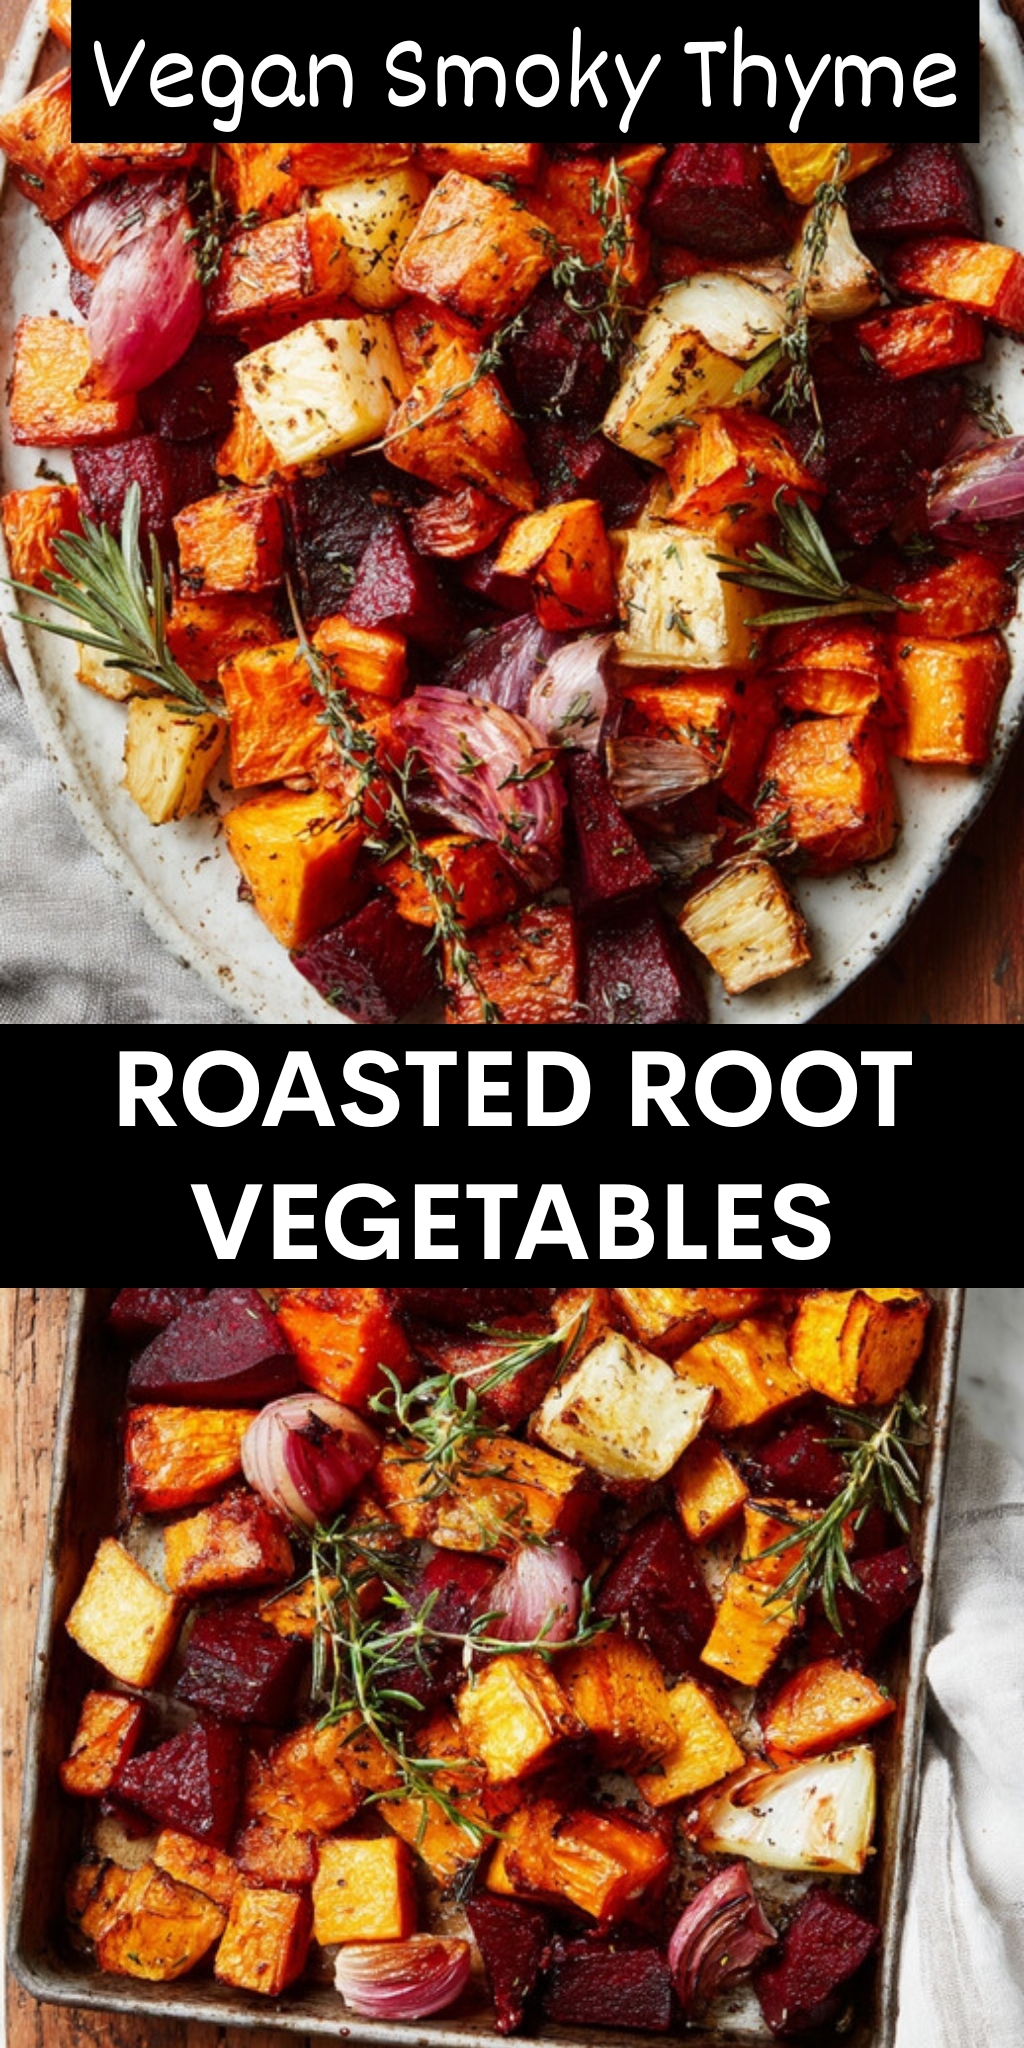
Create the Seasoning Slurry : In the large mixing bowl, whisk together the olive oil, fresh thyme leaves, smoked paprika, sea salt, and black pepper until well combined.
Coat the Vegetables : Add all the chopped vegetables and onion wedges to the bowl with the seasoning slurry. Toss thoroughly with your hands or a large spatula to ensure every piece is evenly coated in oil and herbs.
Initial Searing Roast : Carefully remove the hot roasting pan from the oven. Immediately tip the coated vegetables onto the pan, spreading them into a single, uncrowded layer. The hot surface will create an initial sizzle. Roast for 20 minutes.
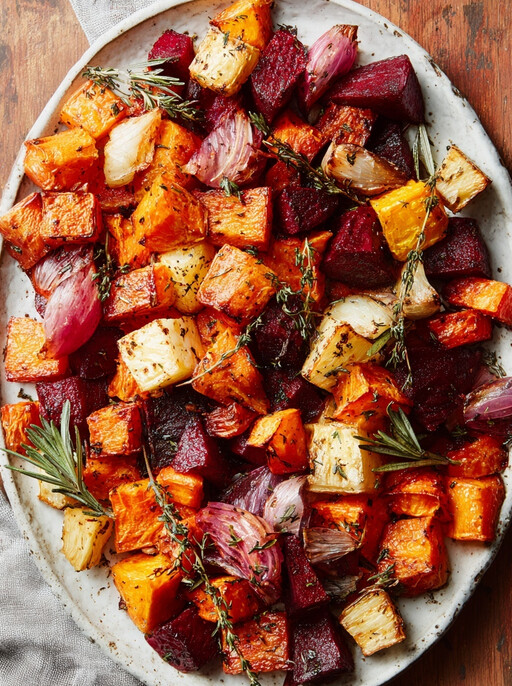
Final Roasting & Caramelization : Remove the pan from the oven. Use a spatula to flip and toss the vegetables. Return the pan to the oven and roast for an additional 15 to 20 minutes. The vegetables are done when they are fork-tender with deeply browned, caramelized edges. Serve immediately.
Storage: Store any leftovers in a sealed container in the refrigerator for up to 4 days. Reheat in a 375°F (190°C) oven or an air fryer for best results.
Variations: For a lower carbohydrate count, substitute half of the carrots or parsnips with celeriac (celery root) or rutabaga. Adjust roasting time as needed.
Pro Tip: If your vegetables are steaming rather than browning, the pan is too crowded. Use two pans if necessary to ensure the vegetables have space to roast properly. The preheated pan is essential for achieving a good sear.
Nutrition Facts (per serving):Calories: 226 kcal | Total Fat: 11 g (Saturated Fat: 1.5 g) | Total Carbs: 31 g (Fiber: 8 g, Sugars: 12 g) | Protein: 3 g | Sodium: 703 mg | Cholesterol: 0 mg | Potassium: 749 mg
These values are approximate and may vary based on ingredients and preparation.
Prep Time:15 minutes
Cook Time:40 minutes
Category:Side Dish
Cuisine:Modern European
Nutrition
Calories:226
This simple method has saved my weeknight dinners more times than I can count, and I hope it brings the exact same ease to your kitchen!
Disclaimer: I’m just a mom and former photographer sharing the nutritious meals that work for my family, not a medical professional. Always listen to your own body (and your doctor) when trying new dietary changes!
 This post may contain affiliate links.
")
")
")
")
")
")
")
")
")